Photo Essay
Juxtapose photos to tell a unique story.
A photo essay is a set of photographs shown in a specific sequence in order to explore a theme, tell a story, or evoke an emotional response. It can take the form of a published book, a feature in a paper magazine, an art gallery exhibit, or a web page. In this project you will use 6-12 twelve photos to tell a unique story, which you explain in a brief narrative and share online.
Spark Page- Photography
- Essay
- Web
Learning Goals
After you finish this activity you will be able to:
- Plan a photo essay using a shot list
- Write concise captions that complement your photos
- Produce well-composed photos that are sharp and well lit
- Demonstrate respect for privacy by obtaining photo releases
Follow these steps to complete the project.
To track your progress, click each step as you finish.
An excellent first step in creating any media work is to examine exemplary works of the same type. Make a list for yourself of what makes these examples strong and inspiring.
Don't skip this step!
| 1 | Peruse any or all of the links in the Get Inspired box. |
By growing your skills in the tools used in any project, you save yourself time and produce stronger work.
| 2 | Peruse any or all of the tutorials in the Tame Your Tools box. |
When beginning a new media project, it's best to organize your resources in a single location.
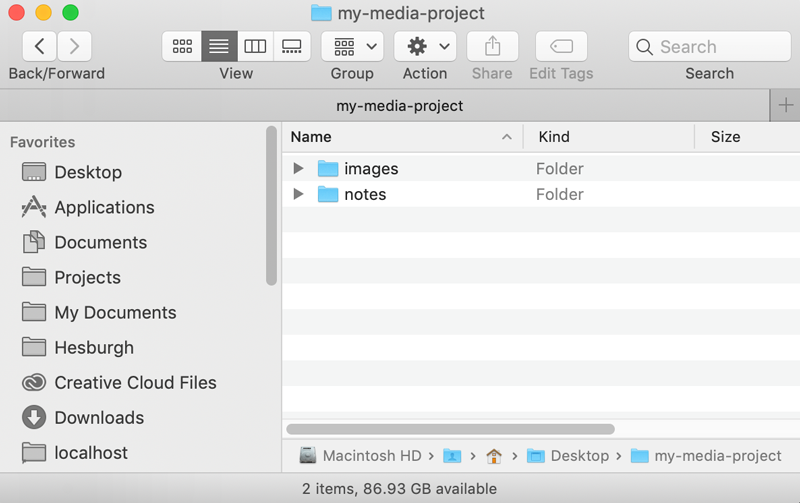
| 3 | Create a folder on your Desktop named something memorable, such as my-media-project. In this folder you'll organize all your resources for this project. |
| 4 | Create sub-folders in your project folder titled notes and images. You will use these folders to store research notes, and all project images, respectively. |
Alternate File Storage
You may also organize your documents in cloud storage, such as Box or Google Drive.
The research phase will help you clearly identify and focus your photo essay around a single topic.
| 5 | Start by narrowing your focus. This background will help you choose the angle you will take in telling the story and planning the kinds of shots you will need. Will you focus on...?
|
| 6 | Learn as much as you can about how others 'see' your topic. Begin by performing a Google Images search and gather those images you find inspirational for how they visually tell the story of their topic. Save them in your images subfolder. |
| 7 | Now, learn everything you can about the topic—dive deep! A simple internet search may produce enough information, but you might also consider consulting a librarian in your subject area. Save all notes and supporting materials in your notes subfolder. |
Now that you have researched your topic, you will prepare for your photo shoot by creating a Story Outline and Shot List, and obtaining Signed Releases from anyone you will record. You will also gather your equipment and any props you will need.
| 8 | Your photo essay is going to tell a story. That means it needs a beginning, middle and ending. Answer the questions in the Photo Essay Story Outline and save it to your notes subfolder. |
| 9 |
Next, navigate to our Shot List Template. Select File > Make a copy to copy the template to your own Google Drive. Creating a shot list helps you plan deliberately for your shoot. You may with to consider using these common shot types. Make sure to save your completed Shot List to your notes subfolder. |
| 10 |
Note that privacy rights vary by country. You will want to be aware of local laws and cultural norms when photographing. We recommend you read Legal Rights of Photographers to learn more. Get signed talent releases as necessary and save them to your notes subfolder. |
| 11 |
Gather your equipment. You may take quality photos with a phone or mobile device. However, for the highest quality images, we recommend reserving cameras and photography accessories from OIT, such as the Nikon D7100. |
Now that you have planned and prepared well for your photoshoot, you will travel to your planned locations and conduct the shoot. If do use a phone or mobile device, you may wish to review these Tips for taking great photos with your phone.
| 12 |
Take lots of photographs: 100 or more! Capture multiple versions of each shot. Preview the results right away at the location to ensure you've captured what you needed. In some cases you may not have a second chance to take a photo. Upload a copy of each useful image to your Google Drive or other storage space as soon as you can. Your device stores the first copy of each image, but devices and cards get lost. |
| 13 | If you decide to use previously printed photos, you may digitize them with the scanners in the Hesburgh Library. |
| 14 | Save all images to your images subfolder and credit any authors whose resources require attribution. |
In this step, you will select, edit and caption the photos from your photoshoot to include in your essay.
| 15 | Pick the 6-12 images that best tell the story with a clear beginning and ending. Include a variety of categories, sizes, angles, and shots. Make copies of them and move the copies to a new folder inside your project folder. You will edit photos ONLY from this folder. Always keep a copy of the unedited original photo. |
| 16 | For any photos which require editing, we recommend you use a photo editing application such as Adobe Photoshop to make minor adjustments. The most common adjustments include: |
| 17 | Create captions for your chosen photos. Aim to write 50-100 words that give the viewer information they can't see. Save your captions text in your notes subfolder. |
Now that you've written your script and gathered your edited and captioned images, you're ready to create your photo essay on the Adobe Spark platform.
| 18 | First, review best practices in editing with Spark Video. We highly recommend the Storytelling with Adobe Spark course on LinkedIn Learning if you intend to do advanced editing. |
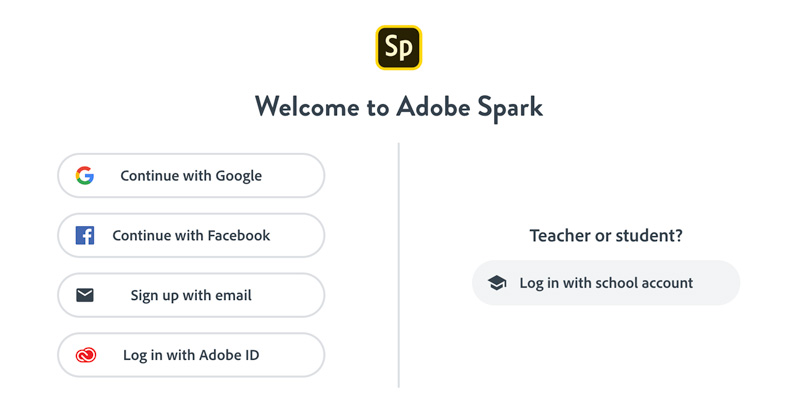
| 19 |
Login to Adobe Spark. Click Continue with Google to use your Notre Dame Google account. |
| 20 | Click the create new project icon ( ) to create a new project. |

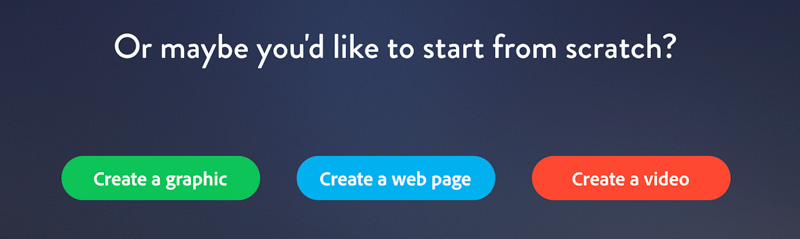
| 21 | Scroll to the bottom of the screen and select Create a Web Page. |
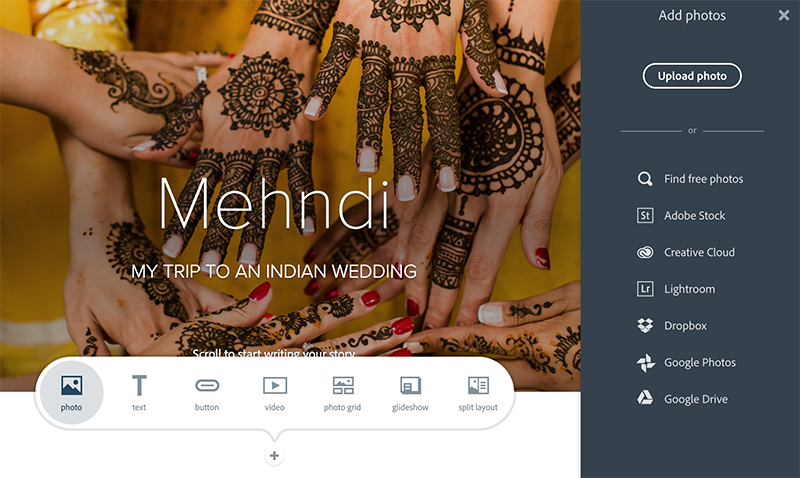
| 22 | Enter the Title and Subtitle (optional) of your essay and click the photo icon () to add a background. We recommend selecting the most iconic/representative photo from your photo essay as the background. |

In this step you'll add the photos that make up the story (main content) of your photo essay.
| 23 | To begin adding your photos, captions and other supporting essay text, click the new photo icon (). From the pop-up menu, click the photo icon ( ) to add a new photo. Finally, select a photo source at right or upload a photo directly. |
×
Use 'Photo' Option Only
Do not choose the 'photo grid', 'slideshow', or 'split layout' options.
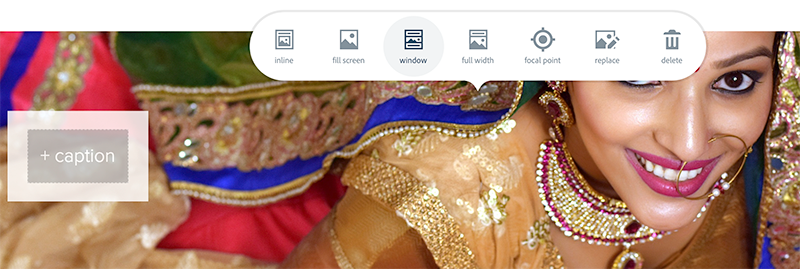
| 24 | For each photo you add, select a placement style ('inline', 'fill screen', 'window', etc.) and paste in the caption you wrote earlier for that photo. |
After you've finished adding photos, you'll perform a final review of your photo essay and share it to the cloud.
| 25 | Click the Preview ( ) button to preview your photo essay. |
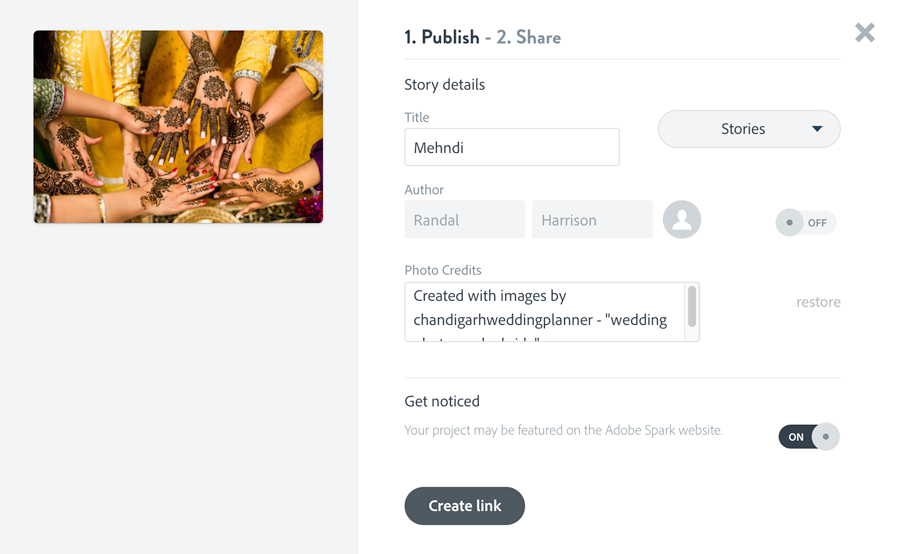
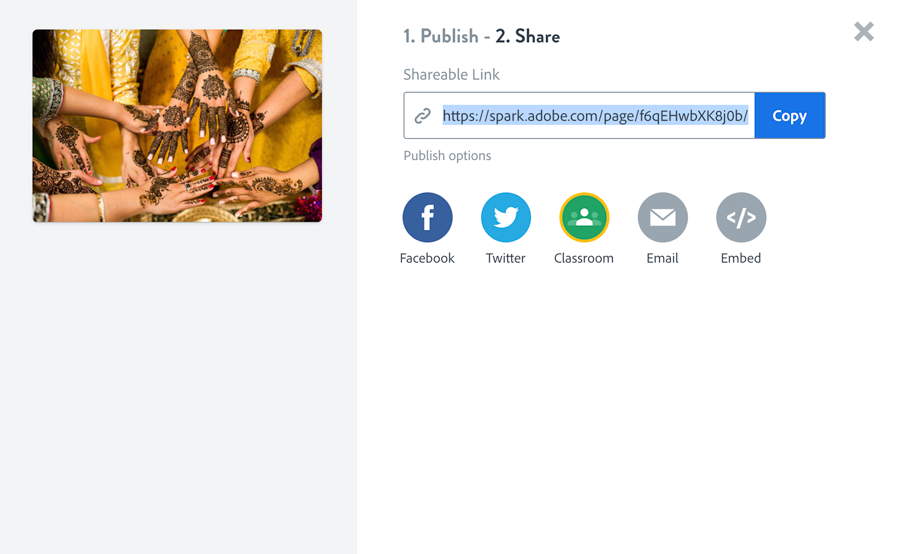
| 26 | Click the Share ( ) button and select Publish and share link to open the sharing dialog. Fill in the information on the Publish screen and click the Create Link button, at bottom. On the Share screen, copy the shareable link to your photo essay and email it to others. You may also share your project on popular social media. |
Congratulations!
You've grown your multimedia literacy while creating cool things! Well done, you!
You might consider nominating work you are proud of to the Remix Project Showcase!

Example
Get Inspired
Tame Your Tools
Master the skills used in this project.
Get Help
Notre Dame has many helpful resources, including our Media Corps coaching staff, located in the Hesburgh Library.
Give Feedback
Remix is continually evolving. Please help us improve by providing feedback on this project or any other feature of Remix.