Digital Story
Use video to narrate a meaningful autobiographical story.
Storytelling has been one of the primary ways in which we communicate, and share our history and cultural values. A digital story leverages the power of digital media to combine video clips, still images, music, and voice narration to tell a story from your own life with optimal impact. In this project, you will create, edit, and polish a 3-5 minute video from your own life which you feel has import for the audience, sharing the final product to the cloud.
Spark Video- Video
- Storytelling
- Autobiography
Learning Goals
After you finish this activity you will be able to:
- Narrate a compelling story about a part of your life
- Write a script well structured to frame your story in a video
- Choose music and images that reinforce your story
- Create a fully realized digital story and share it online
Follow these steps to complete the project.
To track your progress, click each step as you finish.
An excellent first step in creating any media work is to examine exemplary works of the same type. Make a list for yourself of what makes these examples strong and inspiring.
Don't skip this step!
| 1 | Get inspired by visiting the links in the Get Inspired box. |
By growing your skills in the tools used in any project, you save yourself time and produce stronger work.
| 2 | Peruse any or all of the tutorials in the Tame Your Tools box. |
When beginning a new media project, it's best to organize your resources in a single location.
| 3 | Create a folder on your Desktop named something memorable, such as my-media-project. In this folder you'll organize all your resources for this project. |
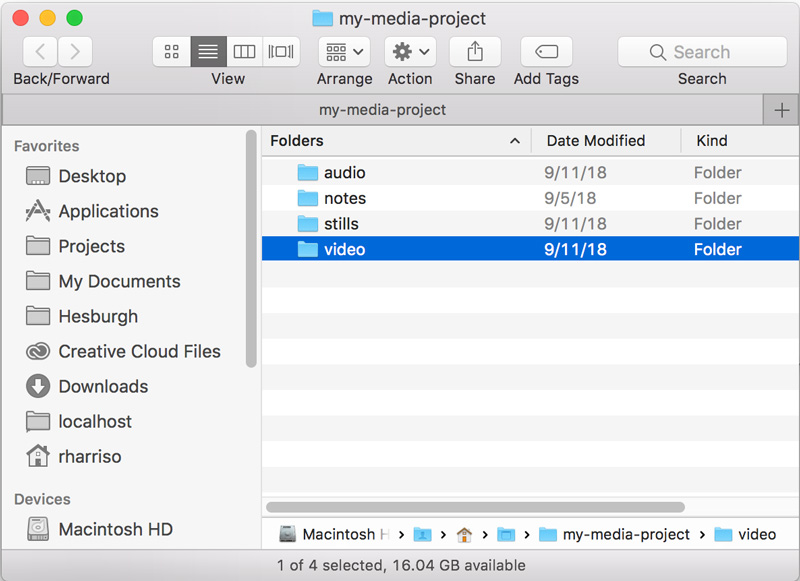
| 4 | Next, create notes, audio, video, and stills sub-folders for the raw materials you'll use to tell your digital story. |
Alternate File Storage
You may also organize
your documents in cloud storage, such as Box or Google Drive.
Before you record your digital story, you will want to delineate clearly—down to the second—what is heard and seen on screen.
| 5 | Review best practices in digital storytelling with the Digital Story Quality Checklist. |
| 6 | Navigate to our Digital Story Script Template. Then, select File > Make a copy to copy the template to your own Google Drive. |

| 7 | Fill out the script template as completely as possible. Make sure to save your completed Digital Story Script to your notes subfolder. |
Now, you'll choose a soundtrack to layer behind your digital story. Make sure to choose music that matches the theme and tone of the essay.
×
Soundtrack Options
Adobe Spark
includes a limited selection of theme songs, listed according to emotional tone. If
you wish to choose your own soundtrack, follow this step.
| 10 | Visit the YouTube Audio Library. |
| 11 | Select the Free Music tab. |
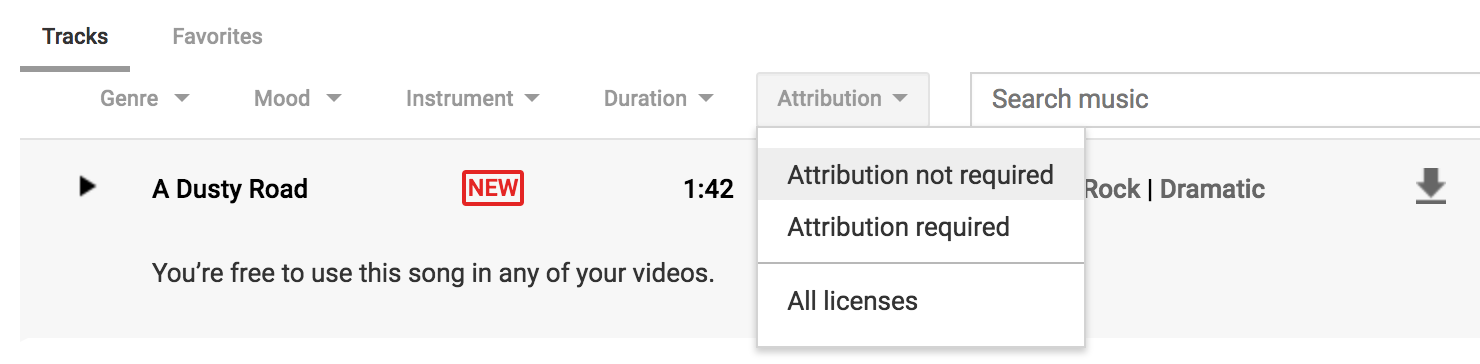
| 12 | Search and filter for music by any combination of Genre, Mood, Instrument, or Duration. |
| 13 | Choose an Attribution option. We recommend "Attribution not
required." |
Giving Proper Attribution
If you choose the
"Attribution required" option, you must
credit
the composer of any music you use in your project.
| 14 | Click the download icon to download the track (MP3) you choose. Save your soundtrack to your audio subfolder. |
There are several options for recording video for your digital story, from using professional equipment to using your own mobile device or computer.
| 20 | Choose a recording method/equipment. |
The Hesburgh Libraries offer three Multimedia Studios which faculty, staff, and students may use to create professional quality video recordings. The Multimedia Studios are equipped with a green screen, a high quality microphone, a professional grade video camera, and mounted lighting for recording high quality video simply by plugging in a flash drive.
Studio access may be limited due to the COVID-19 pandemic. Email cds@nd.edu for more information.
Faculty, staff and students may reserve video recording equipment from OIT, such as the JVC ProHD Camera, the Nikon D7100 with full HD video capability, or the GoPro HERO4 with 4K video recording.
Equipment used for class assignments may often be reserved for free for brief periods. For more information, or to borrow equipment visit the OIT:
DeBartolo 115
(574) 631-6423
eventrentals@nd.edu
While the video will be of higher quality using professional equipment, you may record your digital story with your own phone or other mobile device.
| 21 | Make sure to save all recorded video to your video subfolder. |
You will likely want to combine still images with video in this project. There are many sources of free or royalty-free images available.
| 22 | For third-party images, you might search Pixabay and Unsplash directly. You might also search across multiple image repositories with the Creative Commons search portal. |
| 23 | Make sure to save all third-party still images to your stills subfolder and credit any authors whose resources require attribution. |
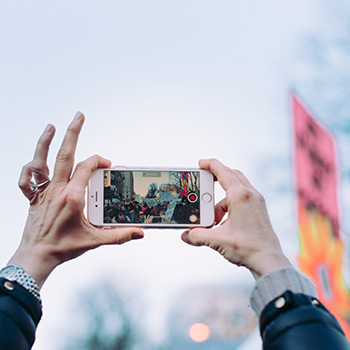
Because you are telling a story from your own life, you may wish to take your own photos, or use photos taken of you or by you.
| 24 | You may take your own photos with a phone or mobile device. For higher quality images, consider reserving cameras and photography accessories from OIT, such as the JVC ProHD Camera, or the Nikon D7100. |
| 25 | You may use the scanners in the Hesburgh Library to scan any printed photos you wish to use. |
| 26 | Make sure to save all still images to your stills subfolder and credit any authors whose resources require attribution. |
Now that you've written your script and gathered your audio, video, and still images, you're ready to create your digital story on the Adobe Spark platform.
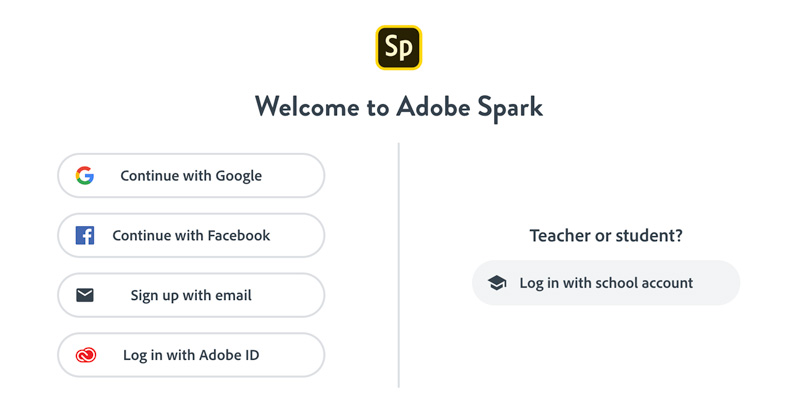
| 27 |
Login to Adobe Spark. Click Continue with Google to use your Notre Dame Google account. |
| 28 | Click the create new project icon () to create a new project. |

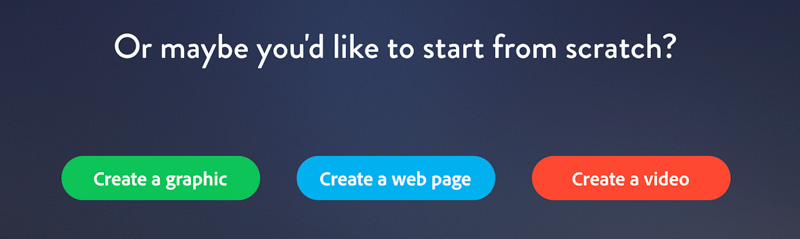
| 29 | Scroll to the bottom of the screen and select Create a Video. |
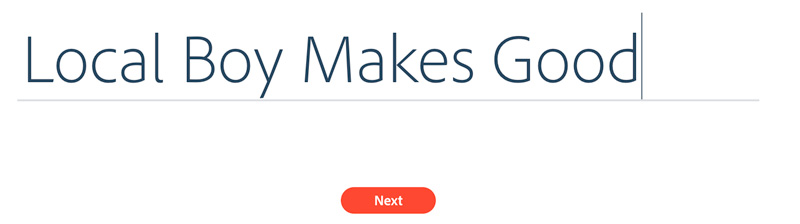
| 30 | Enter the Title of your story and click . |
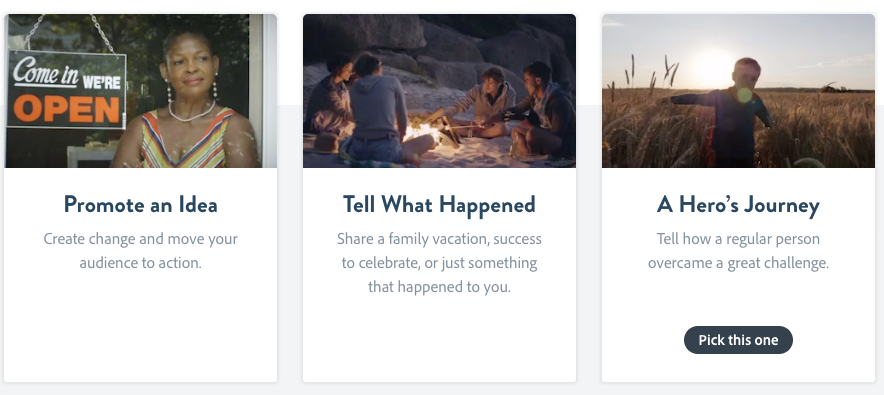
| 31 | Peruse the story templates. Each template you choose will have its own unique sequence of narrative moments. To select a template, hover over its card and click the Pick This One button. |
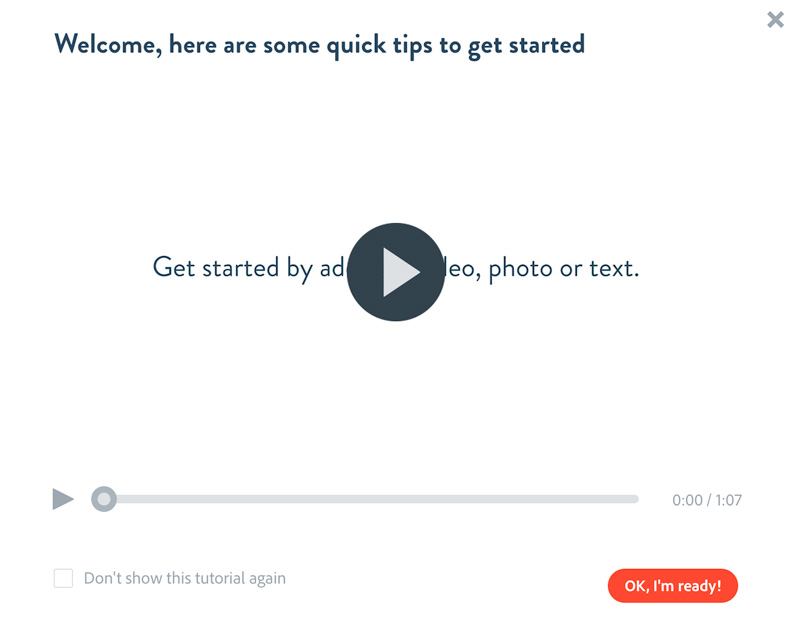
| 32 | Click the play icon () to watch the tutorial video before you begin. When finished, click the Ok, I'm ready! button. |
Next, at top right, you'll set the Theme, Size, and Music for the entire project.
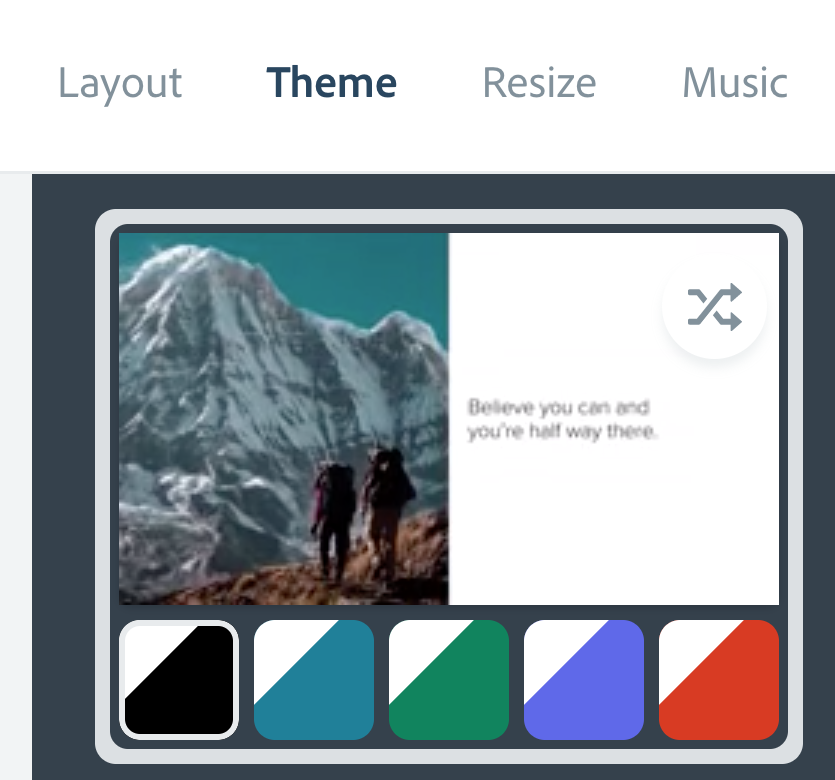
| 33 | Choose an optional theme to use preset colors, animation, and slide organization. |
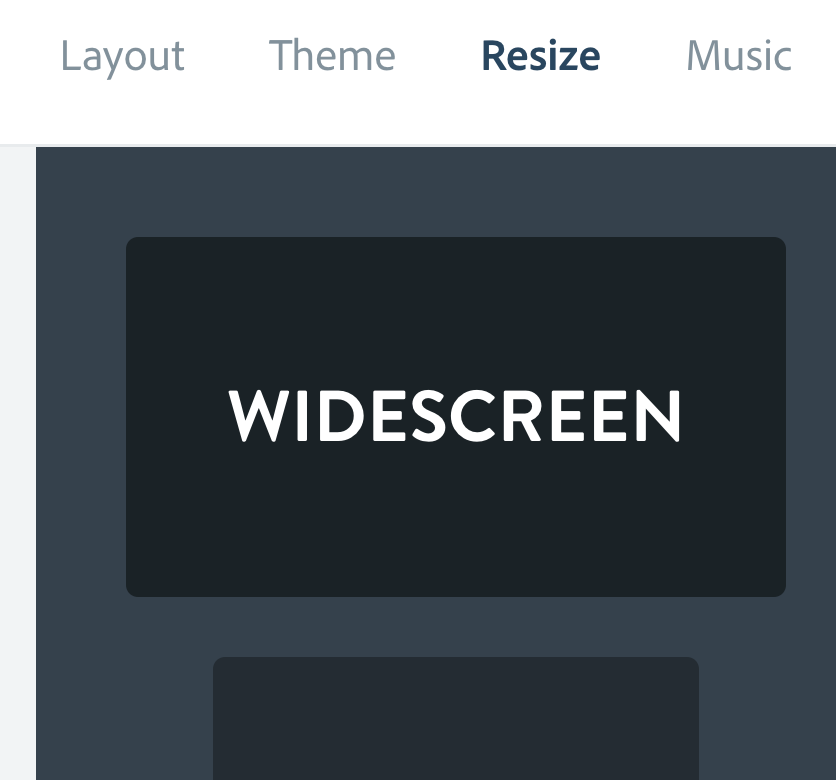
| 34 | Choose a screen size: widescreen (16:9) or square (9:9) |
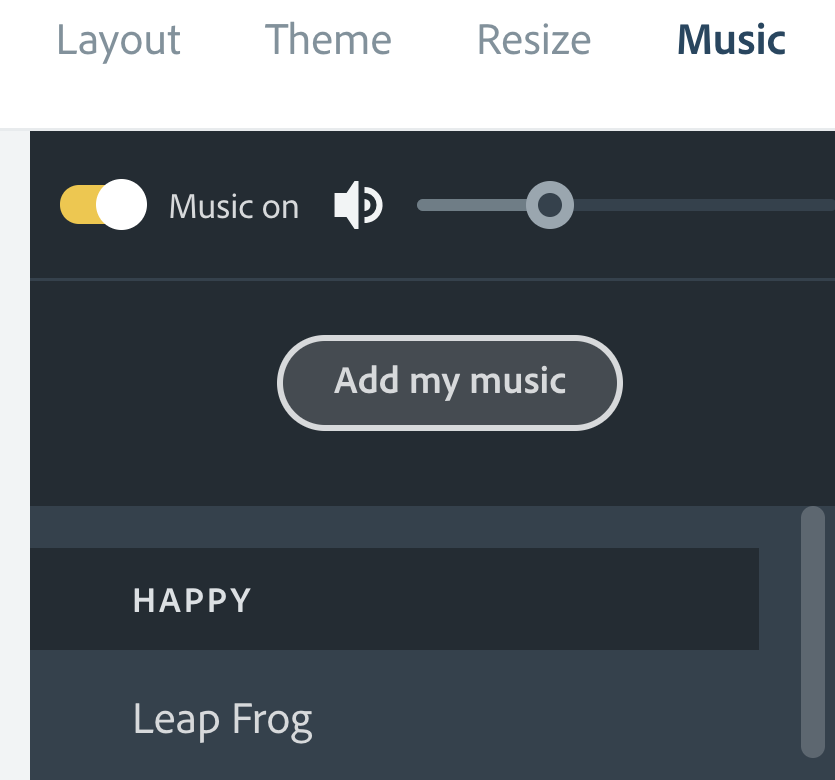
| 35 | Select a soundtrack (or supply your own) to play throughout your digital story. |
Now you'll add the content to your slides that makes up your digital story.
| 36 | Select a slide from the slide chooser at the bottom of the screen. Add additional slides by clicking the slide with the plus ( ) icon in the center. You may delete slides by selecting the circular gray ellipse ( ) in the top right corner of the selected slide. |

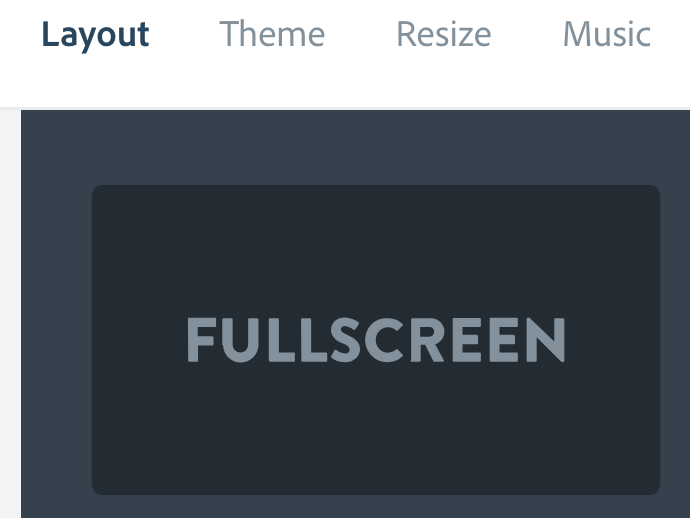
| 37 | In the top right menu, select the Layout for the current slide. Choose from: Full Screen, Split Screen, Caption, or Title & Text. |
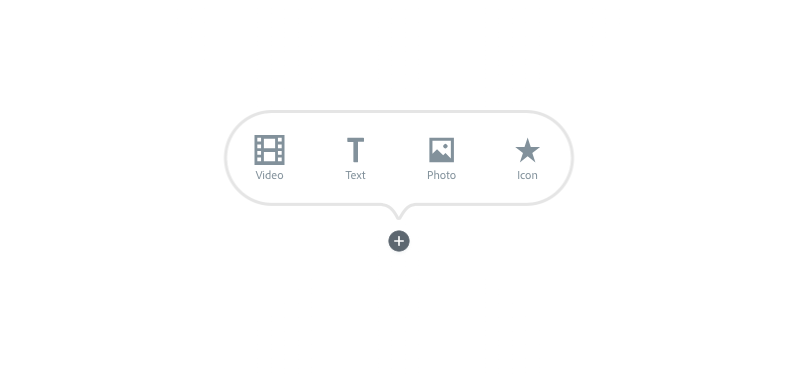
| 38 | In the center of the slide editor, click the circular plus icon ( ) to select the various elements you wish to add to your current slide. Options may vary, depending on the layout you have chosen. |
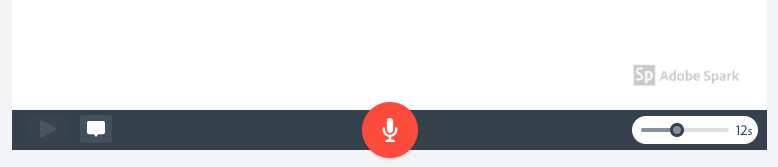
| 39 | Select the circular red microphone icon ( ) to record any narration or sound effects you wish to play during this slide. Then, click the slider at bottom right to set the slide duration. |
Next, you'll perform a final preview of your digital story and share it to the cloud.
| 40 | Click the Preview ( ) button to preview your digital story. |

| 41 | Click the Download ( ) button to download an MP4 version of your presentation. Optional. |
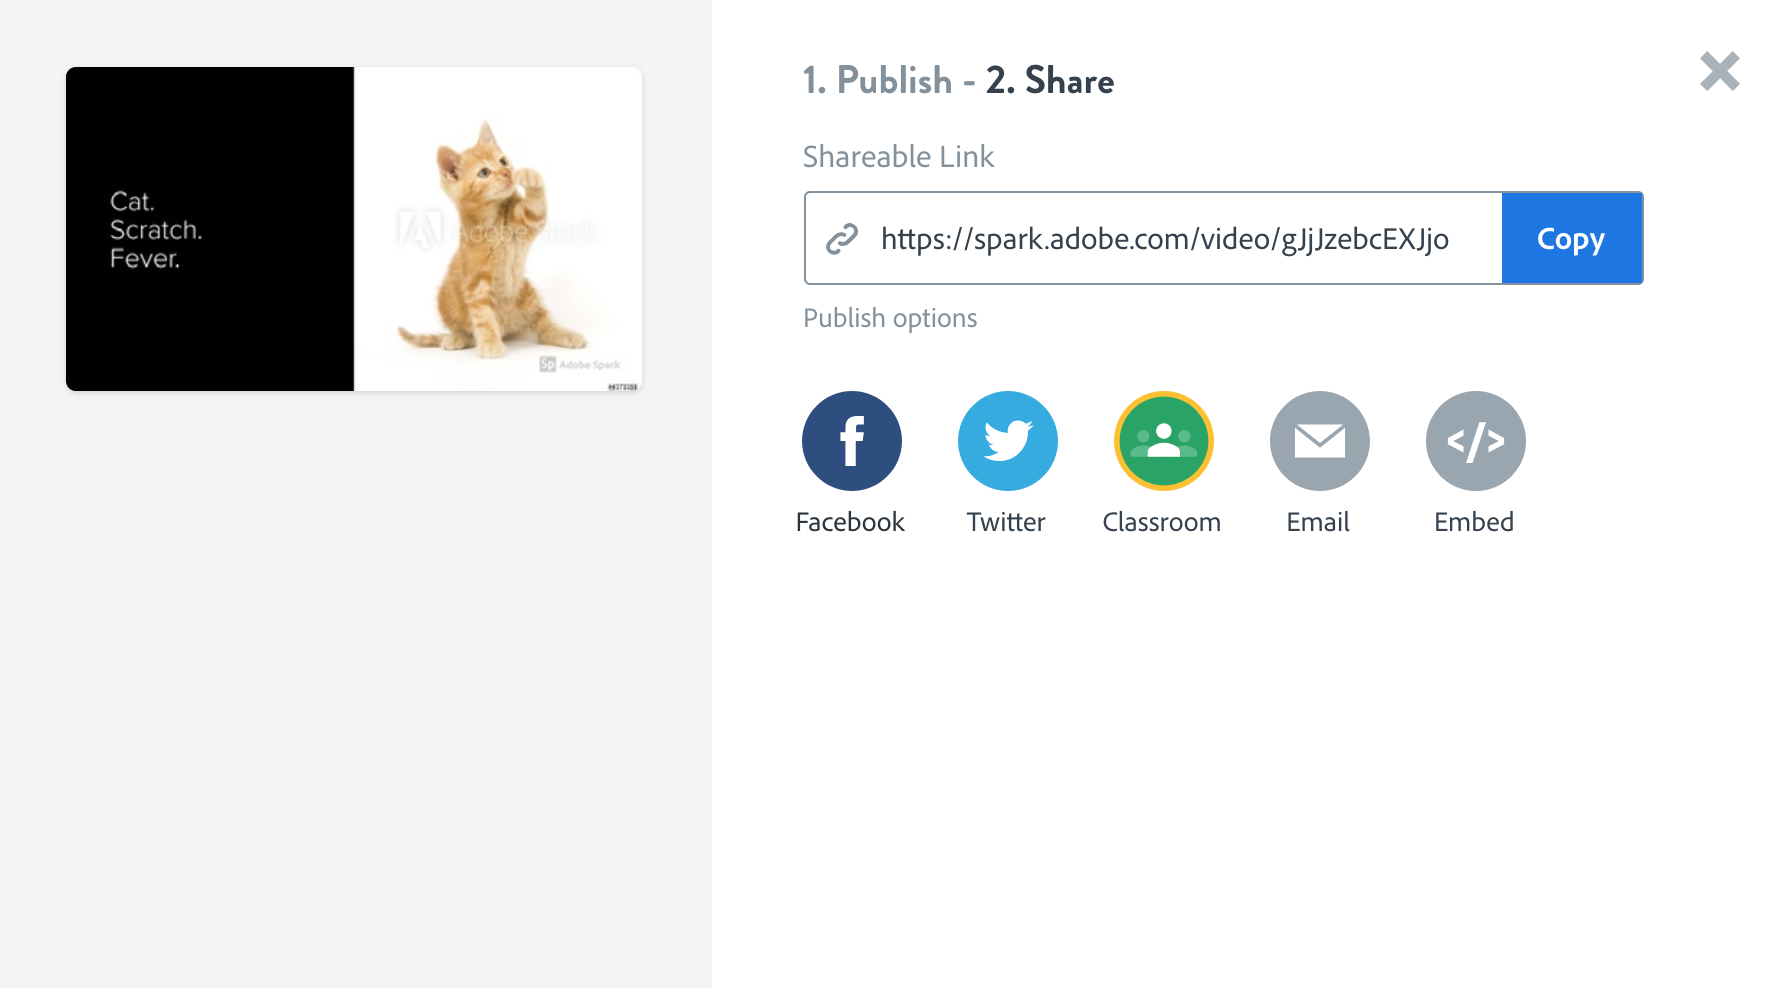
| 42 | Click the Share ( ) button to open the publish and share dialog. Fill in the information on the Publish screen and click Create Link. On the Share screen, copy the shareable link to your digital story and email it to others. You may also share your project on popular social media. |

Congratulations!
You've grown your multimedia literacy while creating cool things! Well done, you!
You might consider nominating work you are proud of to the Remix Project Showcase!

Example
Get Inspired
Explore examples of similar projects.
Tame Your Tools
Master the skills used in this project.
Get Help
Notre Dame has many helpful resources, including our Media Corps coaching staff, located in the Hesburgh Library.
Give Feedback
Remix is continually evolving. Please help us improve by providing feedback on this project or any other feature of Remix.